SEO guide
Slay the Spire 2 Final Boss Guide
A final boss preparation guide for Slay the Spire 2 covering backup plans, scaling checks, and late-game deck weaknesses.
Quick answer
Final boss pages should explain what a complete deck still needs: scaling, bad-hand survival, disruption tolerance, and enough damage to close.

What to check first
Use this page as a practical search-intent answer first, then follow the related database links for deeper card, relic, character, boss, and patch context.
- Check whether the deck wins without perfect draw.
- Keep one backup plan if the main engine is disrupted.
- Do not enter the final fight with only early-game damage.
A final boss deck needs a backup plan
A deck can dominate normal fights and still fail the final boss if it only wins through one fragile engine. The final-boss page should focus on disruption tolerance: what happens when the key card is late, the opening hand is awkward, or the boss forces the deck to block while setting up.
- Check whether the deck can survive without its best opening hand.
- Bring enough scaling to win long fights without becoming purely defensive.
- Keep one way to convert block, draw, energy, or resource generation into damage.
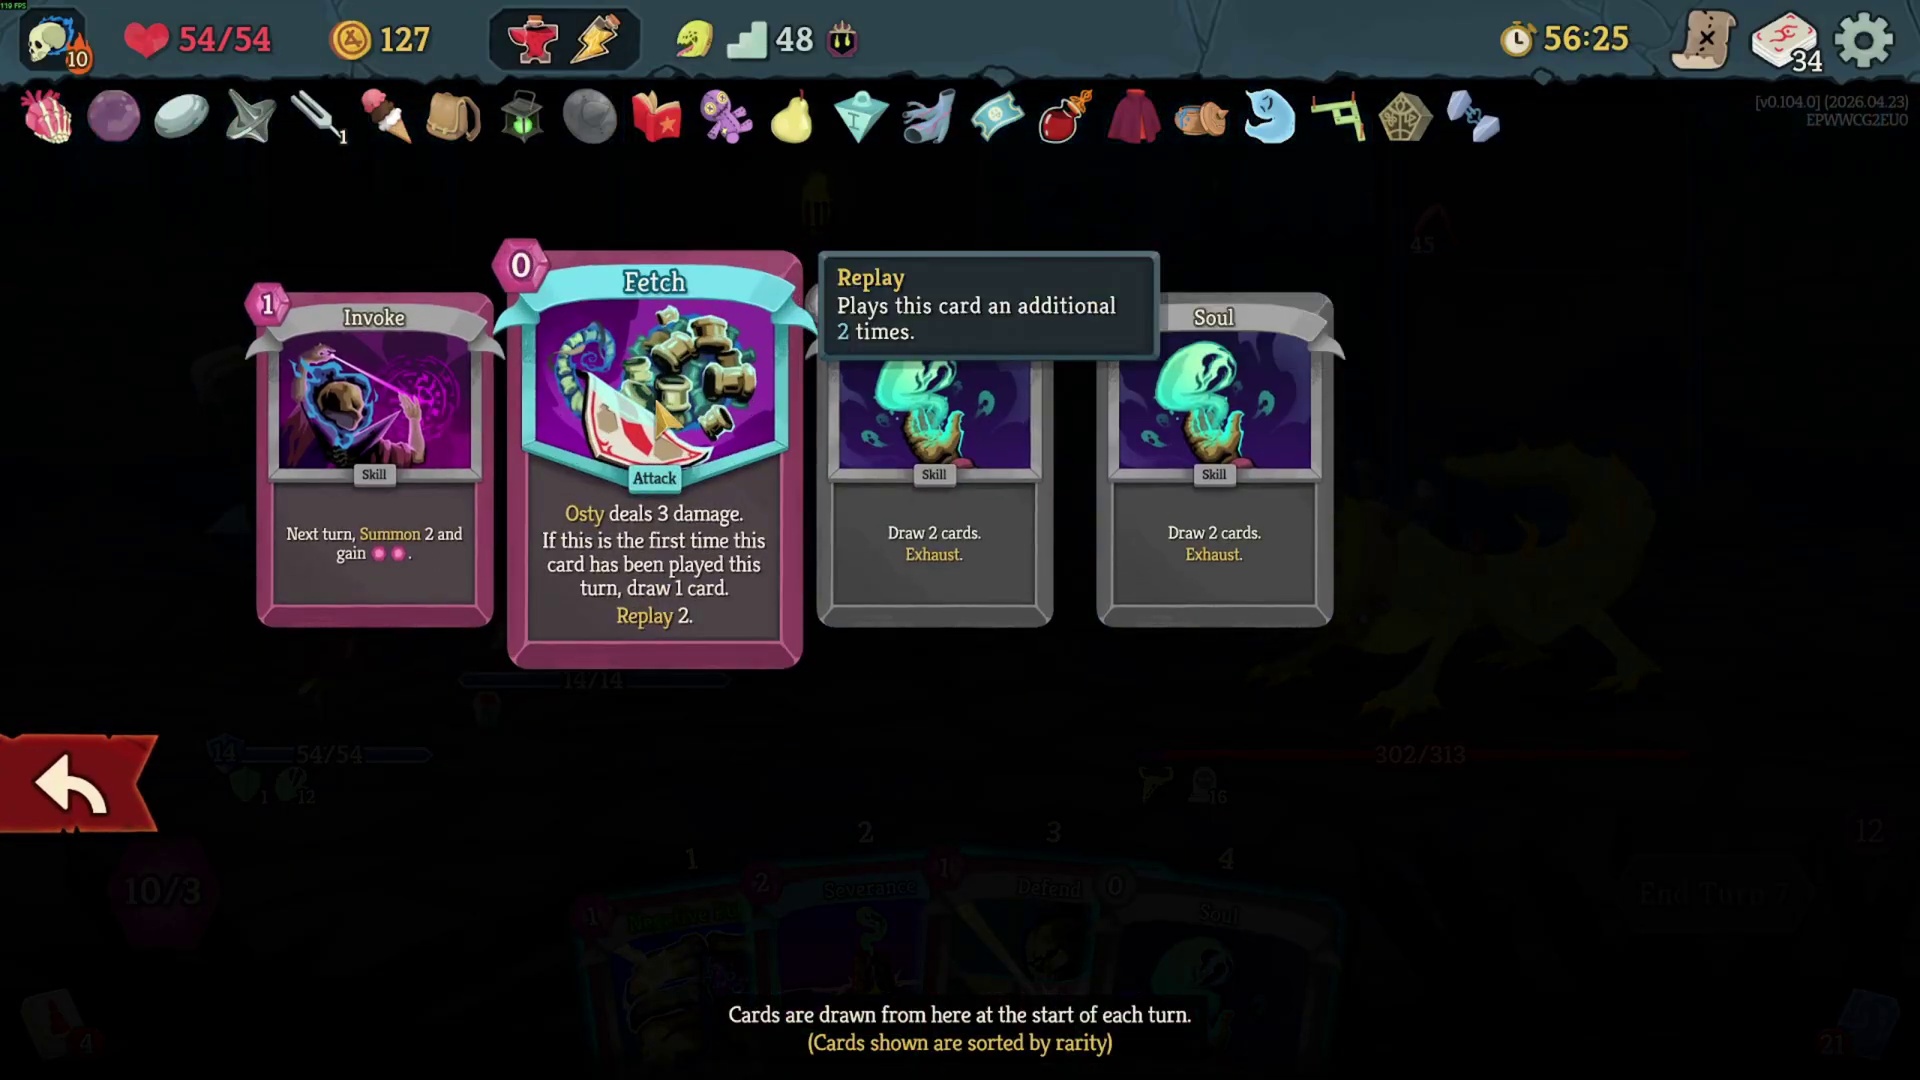
Act 3 boss footage review
Act 3 boss videos are useful when they expose how the deck reaches the final turn safely. The article should not treat a winning screenshot as proof by itself. It should identify the setup cost, the defensive window, and the resource loop that made the kill possible, then warn when the line depends on rare relics or a very specific draw order.
- Record which turn the deck becomes safe, not only the lethal turn.
- Separate reusable boss-prep lessons from character-specific combo lines.
- Flag spoiler-heavy clips so the page can keep the opening summary readable.
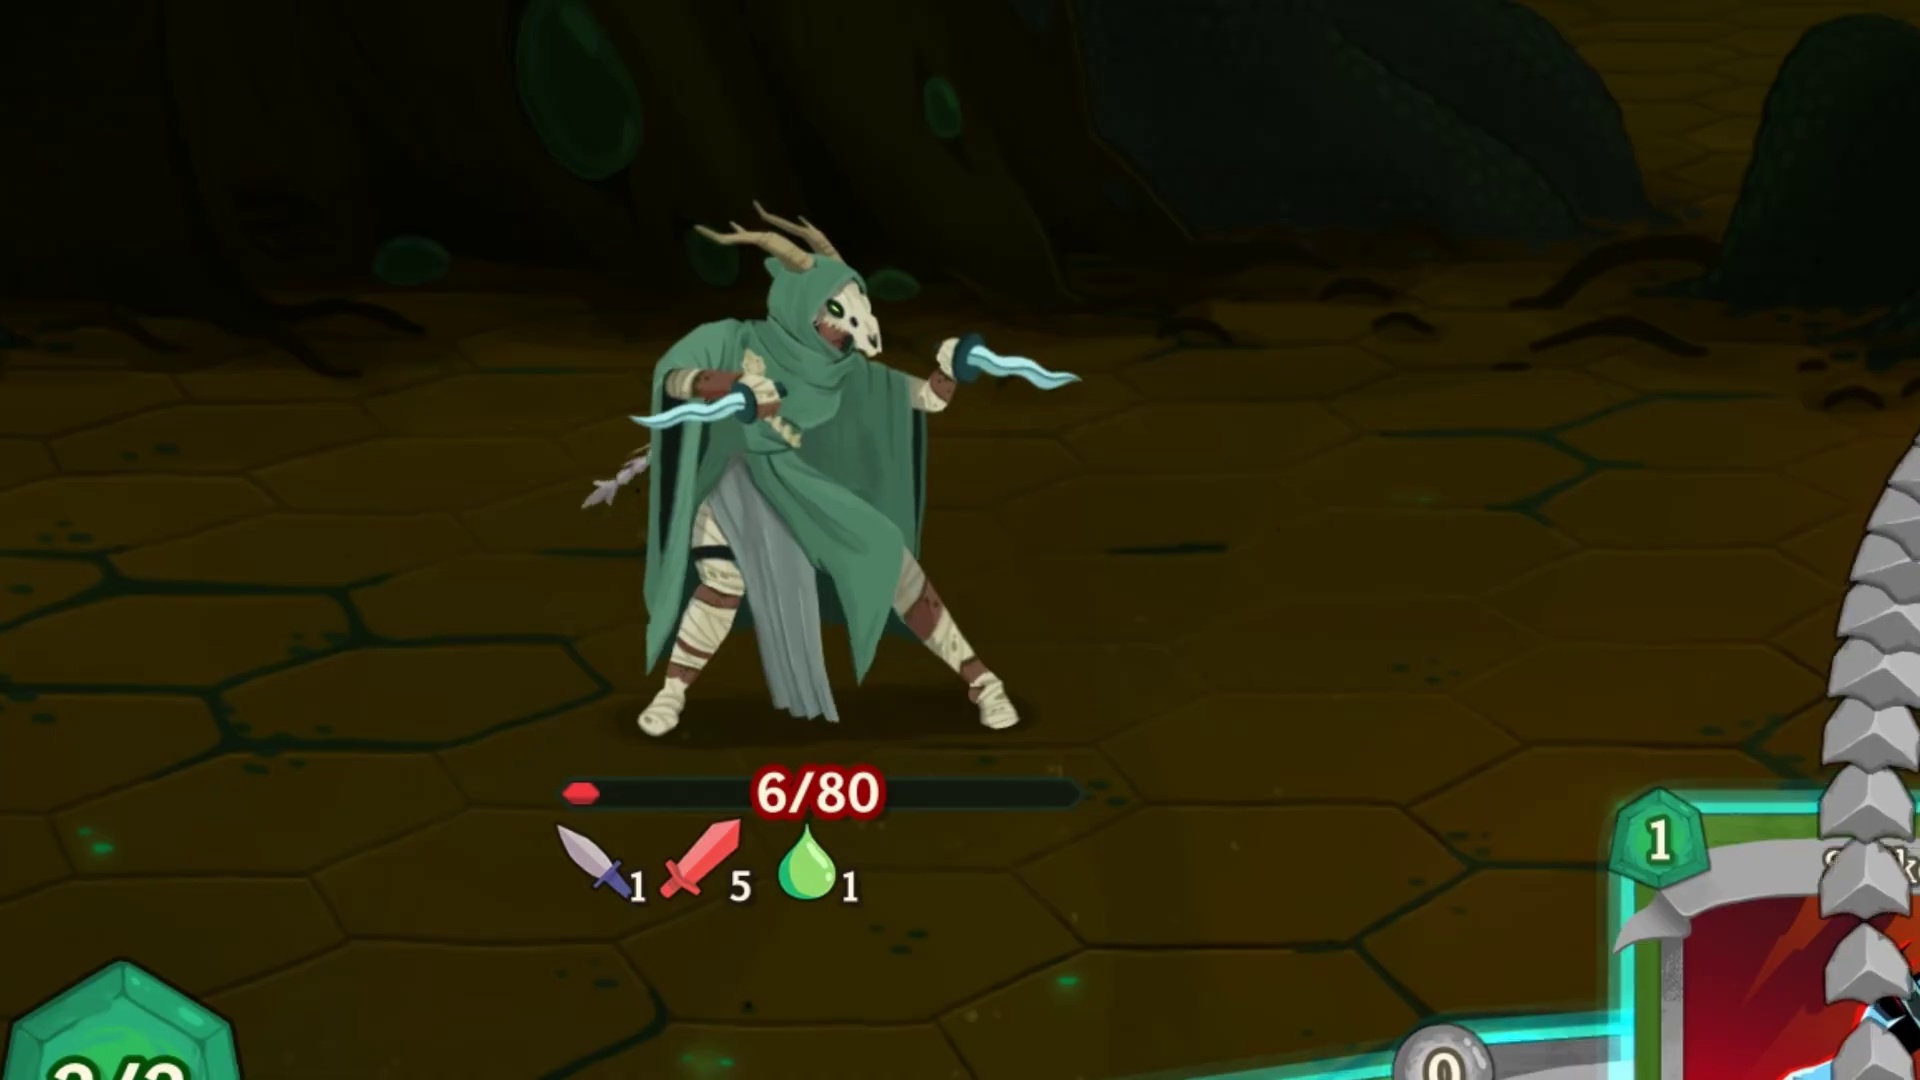
A win screen is not enough proof
Final-boss guide pages should explain the turns that almost lost the run. A screenshot of a kill, a giant deck, or a one-turn combo is useful only after the article names the defensive plan, the scaling source, and the backup line for bad draws. That keeps highlight footage from turning into misleading advice.
- Write down the turn where the deck first had to block and scale at the same time.
- Flag combos that need rare relics, exact draw order, or an unusually large deck.
- Use failed attempts to build the checklist for the next successful run.
Editorial note
This page is part of the first English-only content batch. It is written conservatively for Early Access and should be tightened whenever a major patch changes public information or run data.